
Capturing Moments: A Comprehensive Guide to Screenshots in macOS
Master screenshotting in macOS: Capture, edit, and share effortlessly. Explore our comprehensive guide for seamless digital moments.
Introduction
Boost your productivity to new heights with the Apple Magic Trackpad, featuring intuitive multitouch gestures that streamline your workflow. From effortless scrolling to swift app switching, this trackpad is your key to a more efficient Mac experience. Check it out on Amazon.
Taking screenshots in macOS is an essential skill that enhances productivity and allows you to quickly capture and share information from your Mac’s screen. Whether you’re a professional needing to illustrate a point, a student preparing a presentation, or just someone who wants to save a memorable moment, knowing how to capture your screen effectively can be a game-changer. This article will explore the various methods for capturing snapshots, making your digital life more manageable and enjoyable. Let’s explore this feature in the Apple ecosystem.
The Basics of Screenshotting in macOS
Before diving into the more advanced techniques, it’s crucial to grasp the fundamentals of capturing your screen on macOS. Apple has provided several built-in options that cater to different needs and preferences.
The most common keyboard shortcuts for taking screenshots are as follows:
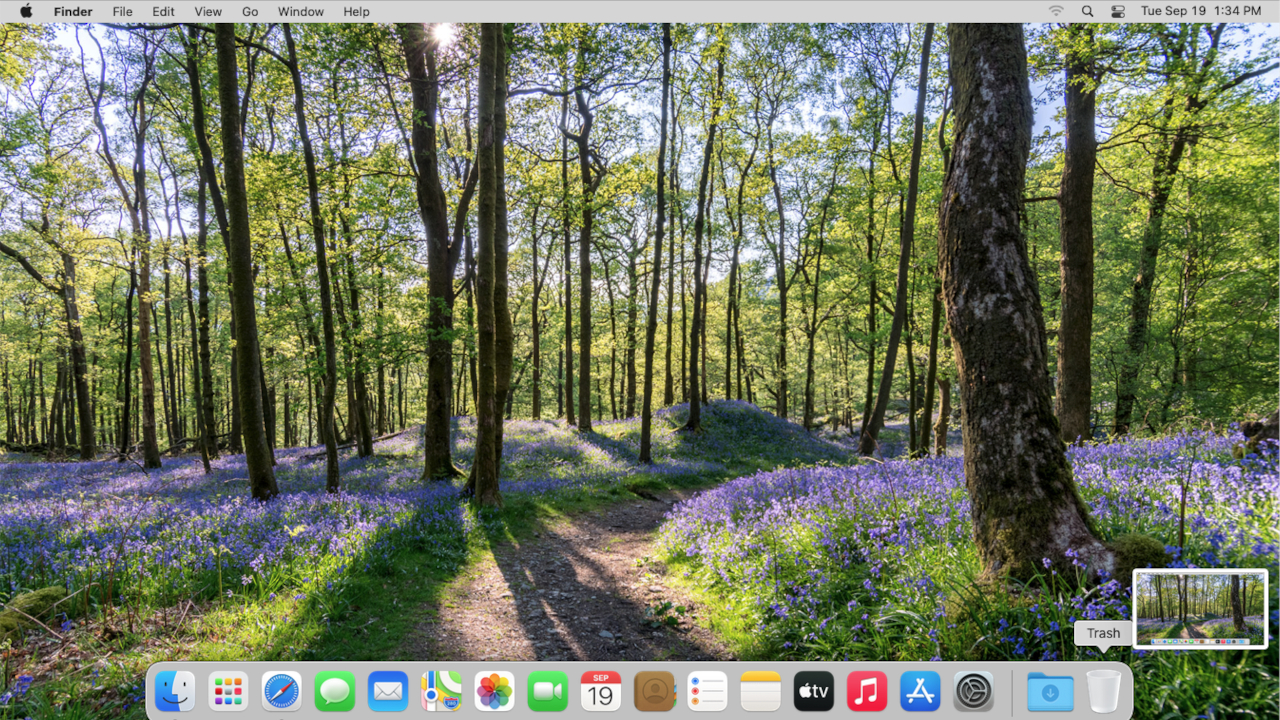
- Command (⌘) + Shift + 3: Captures the entire screen.
- Command (⌘) + Shift + 4: Turns the cursor into a crosshair, allowing you to select a specific area to capture.
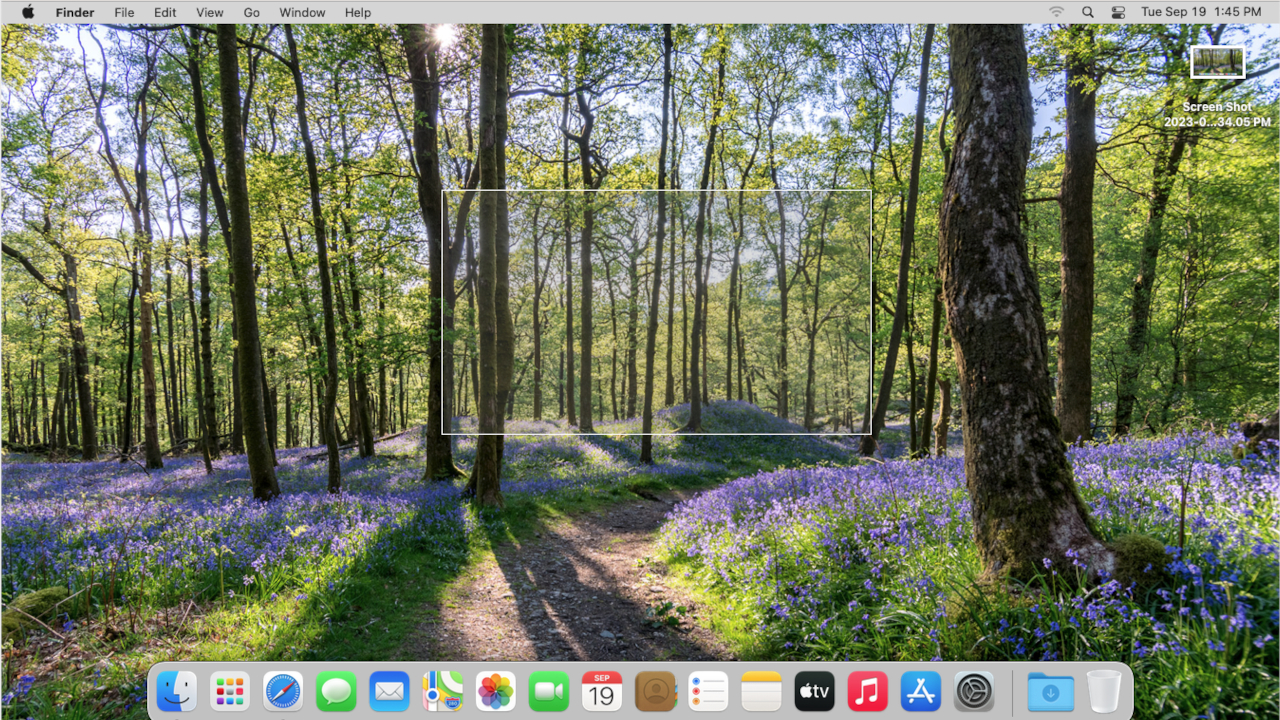
- Command (⌘) + Shift + 4 + Spacebar: Selects and captures a specific window or app.
 These shortcuts save the captures to your desktop by default, making them readily accessible for sharing or editing. However, the OS provides even more advanced options.
Advanced Screenshotting Techniques
While the basic shortcuts cover most needs, the Mac operating system offers additional functionalities for your screen clips. These include:
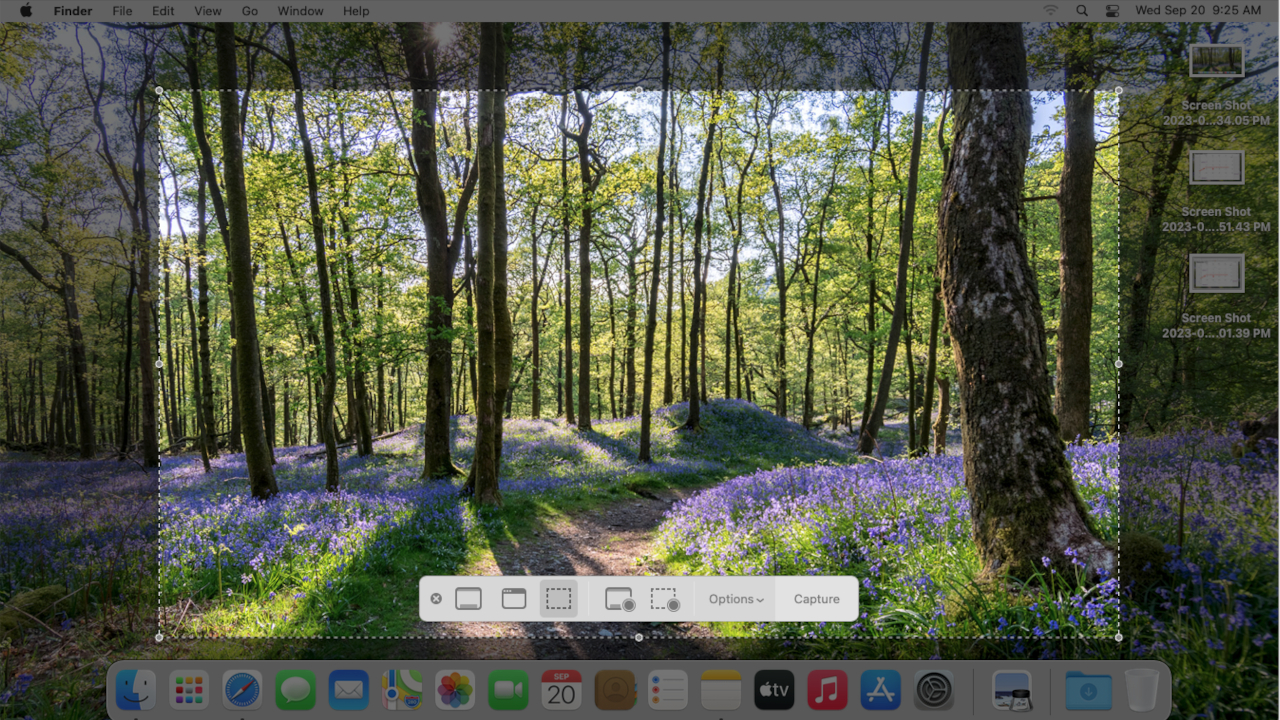
- Command (⌘) + Shift + 5: Opens the Screenshot app, providing a user-friendly interface to capture or record your display. You can select different capture modes, set timer delays, and even capture videos.
-
Command (⌘) + Shift + 6: Captures the Touch Bar on compatible MacBook Pro models, allowing you to document what’s displayed on this dynamic control strip.
- Third-party Apps: Beyond the native tools, various third-party applications, such as Snagit and Skitch, offer more advanced features. These often include powerful editing tools, cloud integration, and GIF creation.
Organizing Your Screenshots
As you accumulate more and more screenshots, it’s essential to keep them organized for easy retrieval. macOS provides some native features for managing them:
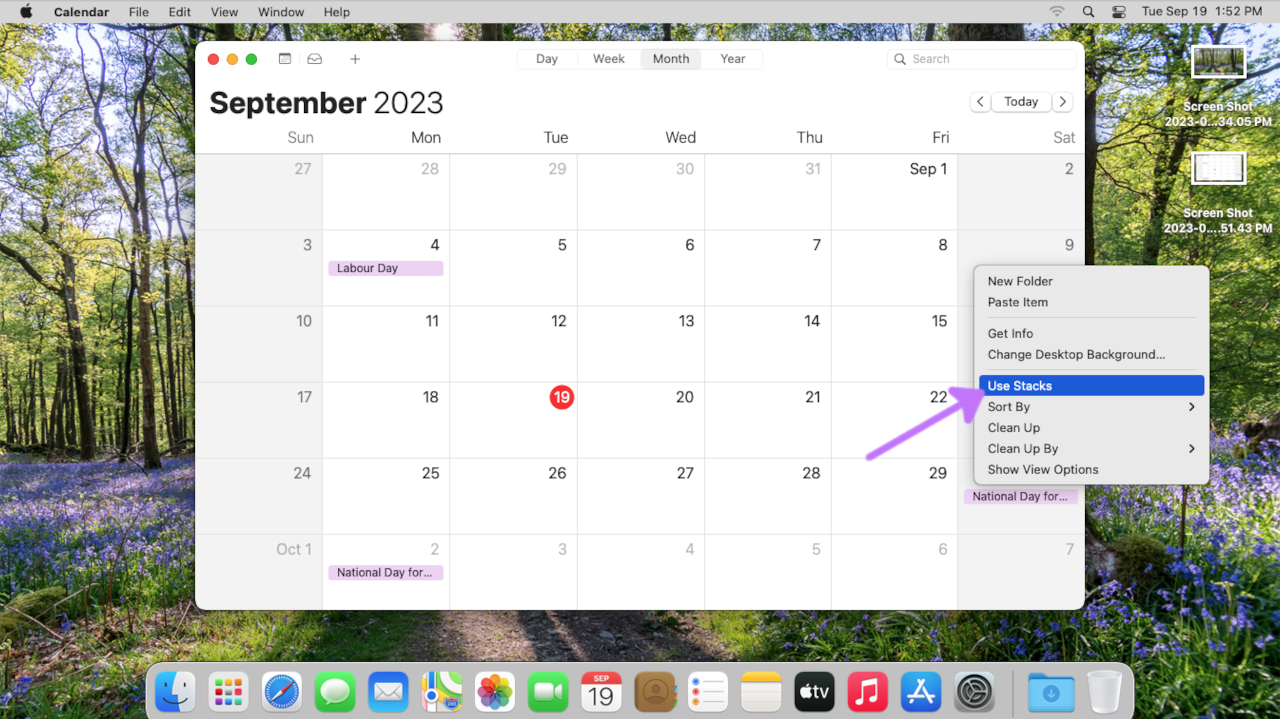
- Stacks: If your desktop becomes cluttered with snapshots, you can enable Stacks to automatically group them together, making your desktop look more organized.
- Folder Organization: Create specific folders for different types of screenshots, such as “Work,” “Personal,” or “Projects.” This can help you quickly find the shots you need, especially if you have an extensive collection.
Editing Your Screenshots
Taking the perfect shot is only half the battle; sometimes, you must edit before sharing or saving them for future reference. macOS offers built-in editing tools within the Preview app. Here’s how to access them:
- Open in Preview: After a successful capture, you can open it in the Preview app by double-clicking the file on your desktop or using the “Open with” option.
-
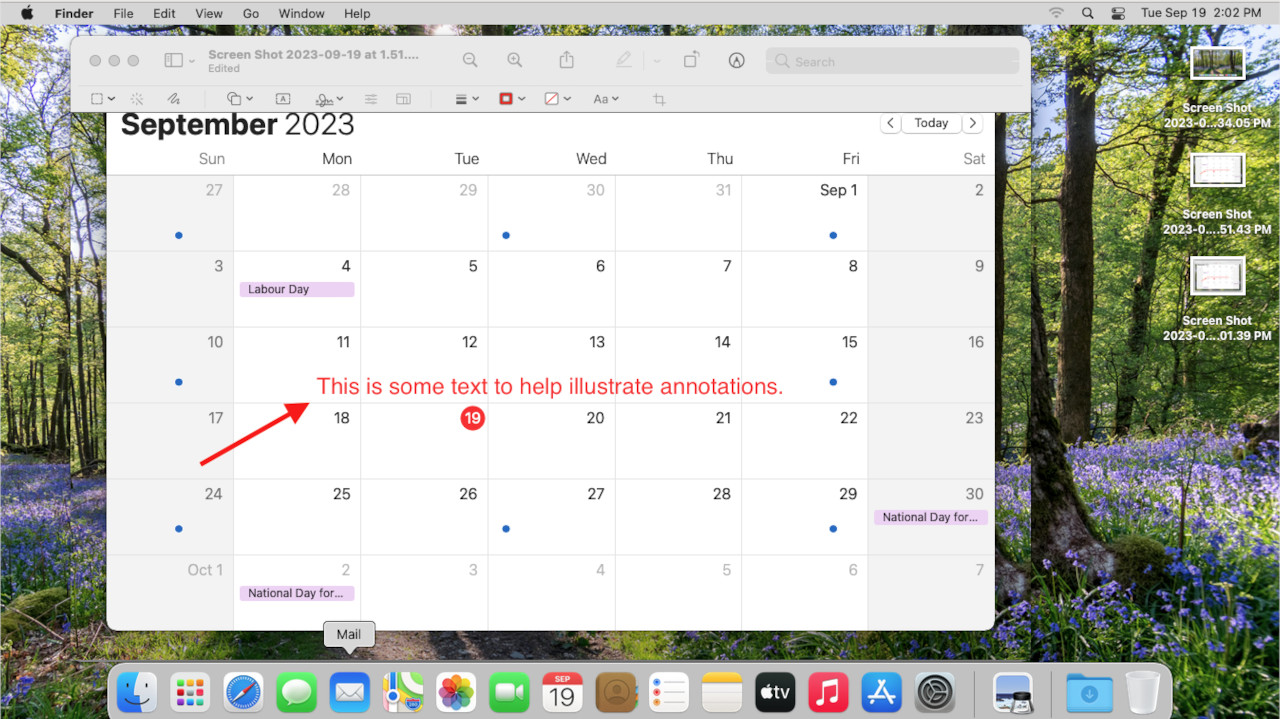
Annotations: Preview allows you to add annotations like text, shapes, and arrows. This is incredibly useful for highlighting specific elements or providing context.
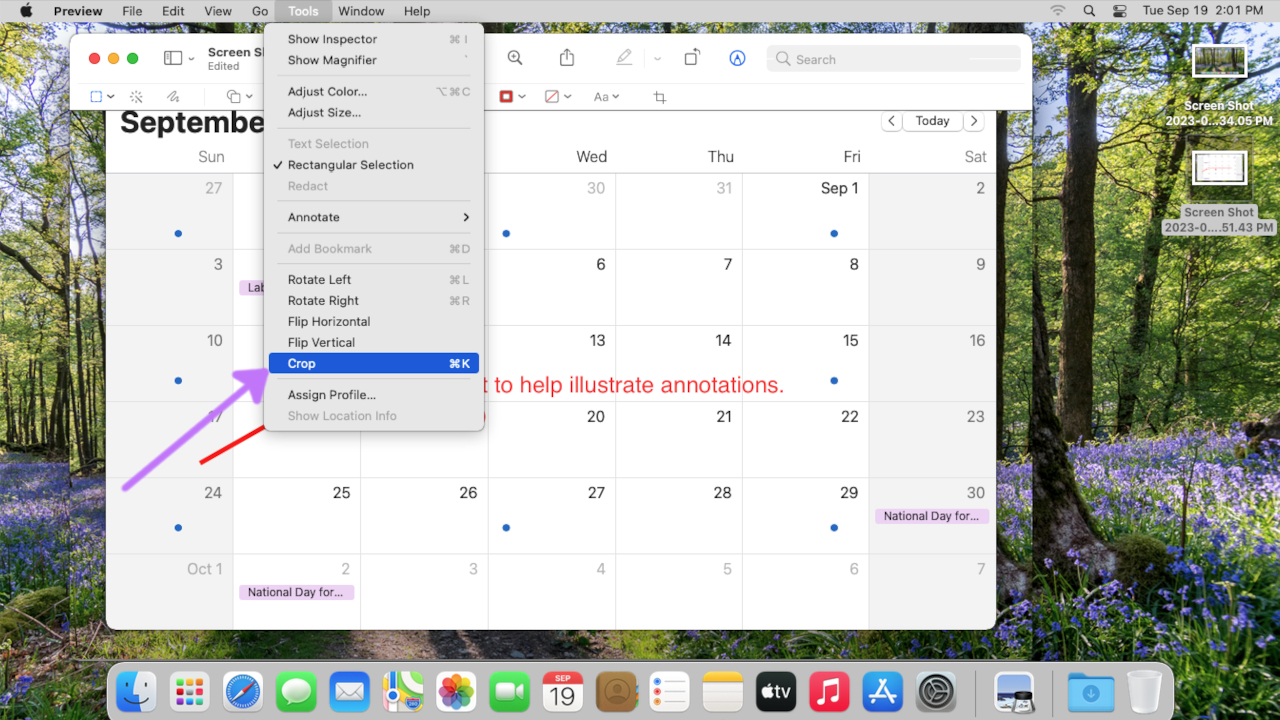
- Cropping: Sometimes, you may want to focus on a particular part of your screenshot. Use the crop tool in Preview to trim away unnecessary parts.
- Adjustments: You can fine-tune the colours, exposure, and sharpness in the Preview. This is particularly handy if you want to enhance the visual quality of your captures.
Sharing and Exporting Screenshots
After capturing and editing, the next step is often sharing them. The OS makes this process seamless:
-
Share Sheet: Click the share button (square with an arrow)
 in the Preview app to access various sharing options. You can send your screenshot via email, Messages, AirDrop, or even share it directly to social media.
 -
Drag-and-Drop: You can drag your clipping from the desktop into an email, document, or chat, making sharing quick and intuitive.
-
Export Options: The operating system provides numerous export options if you need to save your screenshot in a specific format or quality. Select “File” > “Export” in the Preview app and choose your desired format and settings.
Shop Amazon for everything Apple.
Taking Screenshots on iOS Devices
While this article primarily focuses on capturing your screen in macOS, it’s worth noting that Apple’s ecosystem extends to its iOS devices, such as iPhones and iPads. Thankfully, the process on these devices is equally straightforward:

-
iPhone and iPad (Models with a Home Button): Press the Home and Sleep/Wake (Power) buttons simultaneously. This action will capture and save the current screen to your Photos app.
-
iPhone and iPad (Models without a Home Button): For newer iPhone and iPad models without a physical Home button, simultaneously press the Volume Up button and the Sleep/Wake (Power) button. The screen will flash, indicating that an image has been taken, and the image will be saved to your Photos app.
Once you’ve captured your display on your iOS device, you can access it in the Photos app’s “Screenshots” album, where you can view, edit, or share it, just like on your Mac. The seamless integration between your devices makes it easy to move pictures between them via iCloud, ensuring you have your captured moments readily available no matter which device you’re using.
iCloud Integration
Apple’s iCloud plays a vital role in the ecosystem, and it seamlessly integrates with your screenshots:
-
iCloud Drive: By enabling iCloud Drive, your images can be automatically synced across all your devices. This means a screenshot taken on your Mac is readily accessible on your iPhone or iPad.
-
Optimized Storage: To save local storage space, your Mac can automatically offload older files to iCloud, keeping your desktop clutter-free.
For a deeper dive into iCloud, see: Unlocking the Power of Apple iCloud: Seamless Collaboration and Security
Keyboard Shortcuts Customization

For power users who want to streamline their workflow, macOS allows you to customize keyboard shortcuts for various screenshot functions:
- System Preferences: Navigate to “System Preferences” > “Keyboard” > “Keyboard Shortcuts” > “Screenshots” to assign your preferred keyboard shortcuts.
Customizing these shortcuts can significantly enhance your efficiency, as you can tailor them to match your needs and habits.
for a deeper dive into keyboard shortcuts, see: Efficiency Unleashed: A Comprehensive Guide to macOS Keyboard Shortcuts
Shop Amazon for all your macOS Keyboard needs.
Conclusion
Mastering screenshots in macOS and iOS is an essential skill that can boost your productivity and enhance your communication. Whether you’re using the built-in shortcuts for quick captures or diving into advanced techniques and editing tools, the ecosystem provides a robust and user-friendly environment for all your capturing needs. By keeping them organized, edited, and readily shareable, you can harness the full potential of your Mac and make the most out of every digital moment.
So, the next time you want to capture something on your macOS or iOS device, remember the versatility and convenience that Apple’s ecosystem offers. With some practice, you’ll become a snapshot pro, effortlessly capturing and sharing your digital experiences.
Browse Mac Accessories for Efficiency on Amazon.