Taking Screenshots in Windows: Mastering the Snipping Tool
Master Windows screenshots with Snipping Tool & more! Boost productivity & communication. Your ultimate guide awaits!
Introduction
Capturing screenshots on Windows is a fundamental skill that can be incredibly useful in various scenarios. Whether you need to share an error message with tech support, document a tutorial, or simply capture a moment from your favourite video, knowing how to take them efficiently is essential. In this comprehensive guide, we will explore various methods to capture snapshots, focusing on the versatile “Snipping Tool.”
Why Screenshots Matter
Before diving into the technicalities, let’s explore why screenshots are so vital. They enable you to visually convey information, highlight issues, and save precious memories with just a few clicks. In work settings, they streamline communication and simplify problem-solving. In personal use, display captures help you cherish moments, whether it’s a funny meme or an inspiring quote. By sharing them you can communicate more effectively and capture essential information without the need for lengthy explanations.
Understanding the Snipping Tool
The Snipping Tool is a built-in screenshot utility that comes pre-installed with Windows operating systems. This powerful tool allows you to capture specific areas of your panel, providing flexibility and precision in display capturing. Its intuitive interface and basic editing capabilities make it an excellent choice for most users. The Tool has been a staple in Windows since Vista and continues to be available in later versions.
One of the key advantages of this tool is its versatility. Unlike the traditional Print Screen (PrtScn) method, which captures the entire monitor, this tool lets you choose what you want to capture, making it perfect for selective screenshots. You can encapsulate individual windows, specific regions or even draw custom shapes around the content you need.
How to Access the Snipping Tool
Locating the Snipping Tool is simple. You can access it through the following steps:
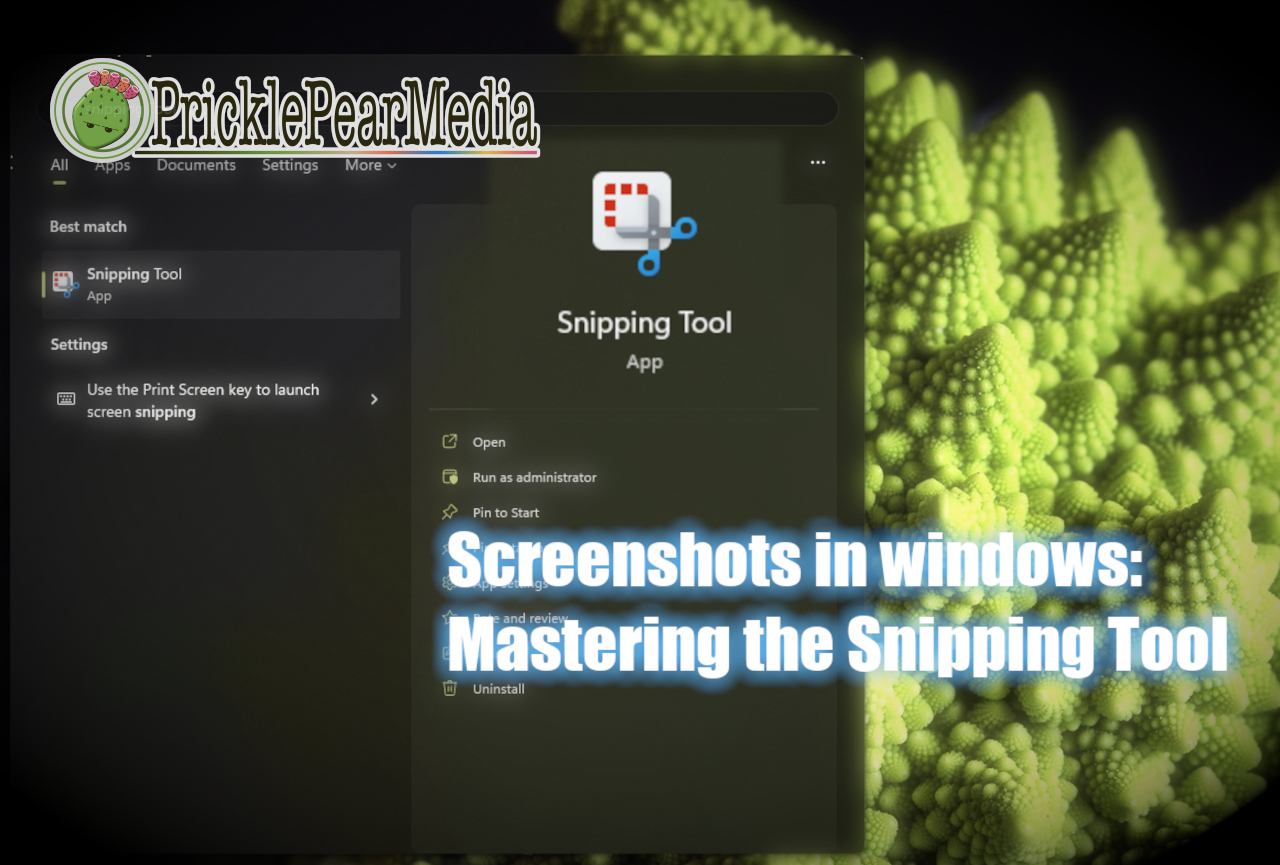
- Using the Start Menu: Click on the Start button, type “Snipping Tool” in the search bar, and select the application from the results.

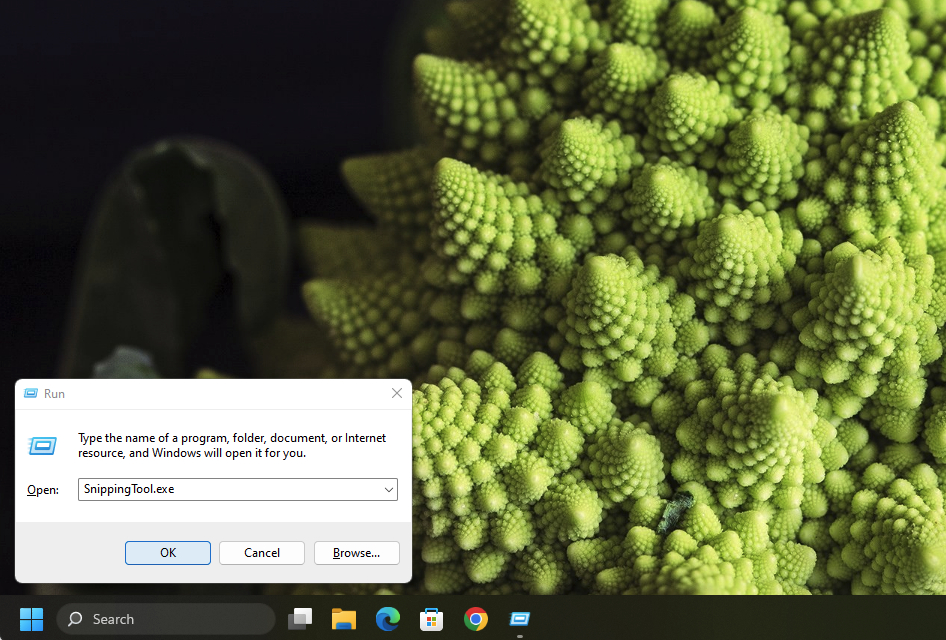
- Using Run Command: Press “Windows + R” to open the Run dialogue box, type “SnippingTool.exe,” and click “OK.”
The Snipping Tool offers four main display capture modes:
- Free-form Snip: This mode allows you to draw a free-form shape around the area you want to use. Perfect for irregular shapes or capturing parts of a window. For instance, if you want to record a specific region of a web page or a portion of a chart, the Free-form Snip mode comes in handy.
- Rectangular Snip: This mode lets you capture a precise rectangular portion of your screen. Ideal for capturing images, videos, or specific sections of a document. The Rectangular Snip mode is excellent for capturing content that follows a structured layout, such as web articles or design mock-ups.
- Window Snip: With this mode, you can capture an entire window, such as a program or browser window. It automatically detects open windows for quick selection. This mode is advantageous when you want to capture the content of a specific application without any surrounding clutter.
- Full-screen Snip: This mode captures the entire monitor, making it useful when you want to capture everything displayed on your monitor. When you need to capture an entire web page, including the parts that are not immediately visible, using the Full-screen Snip mode will ensure you get everything in one go.
To take a screenshot using the Snipping Tool:
- Launch the Snipping Tool using one of the methods described in section 3 How to Access the Snipping Tool.
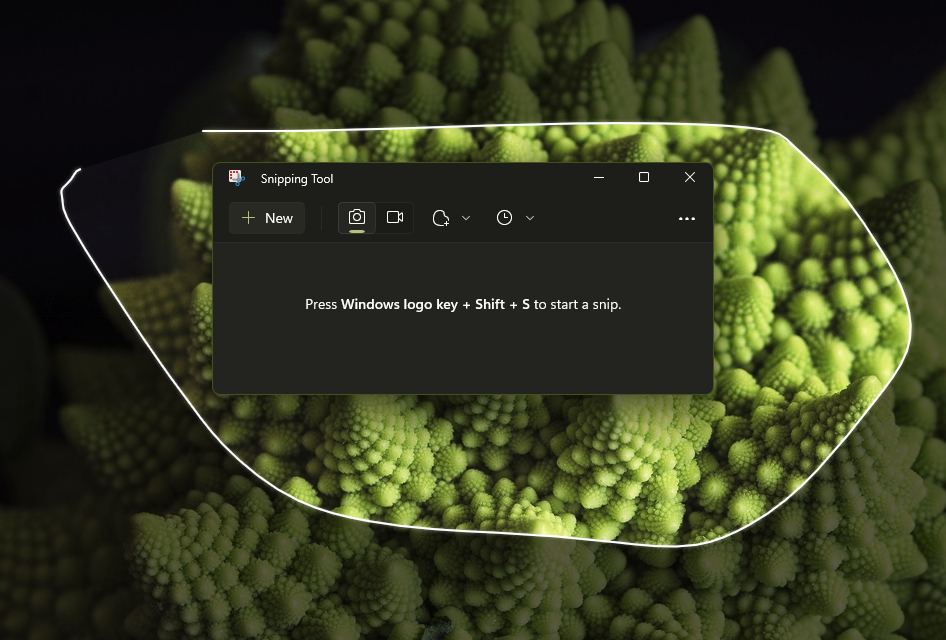
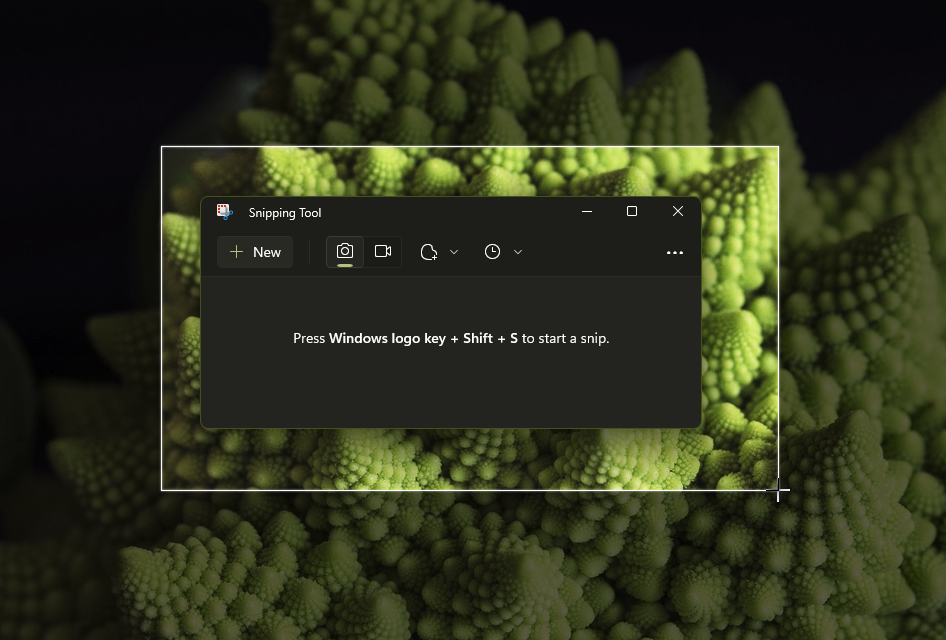
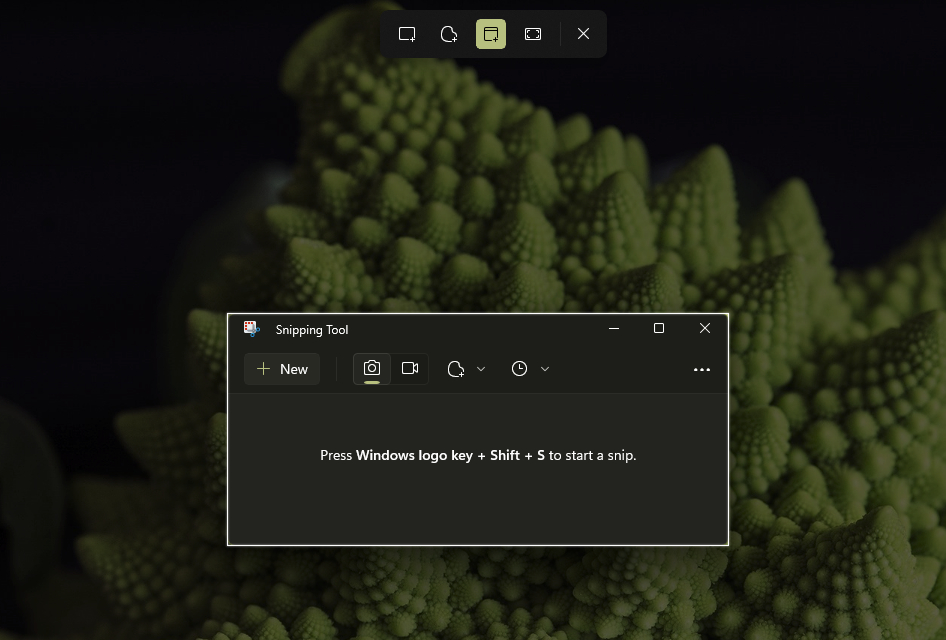
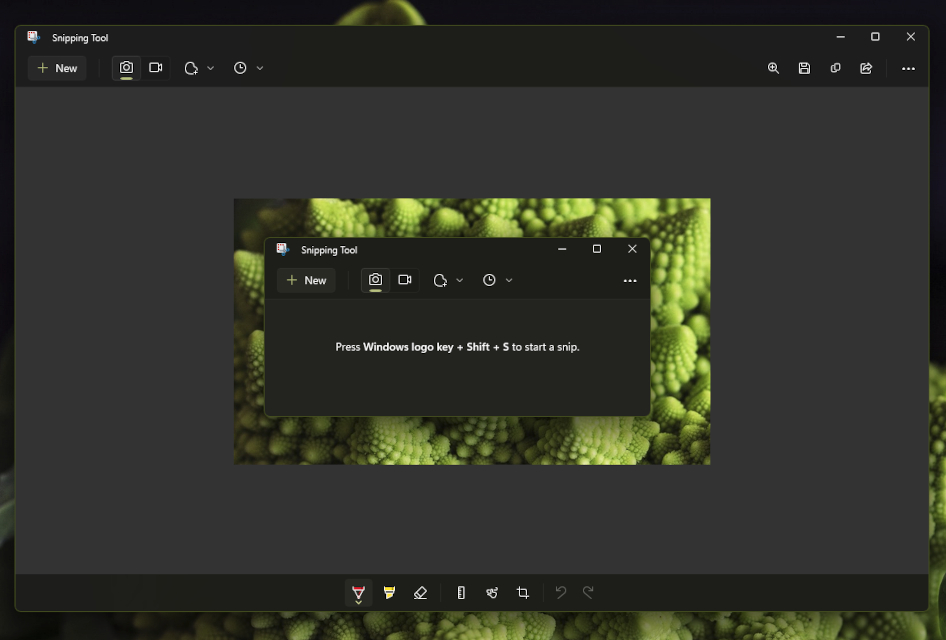
- Click “New” or press “Windows logo key + Shift + S” to initiate the snapshot process.
- Select the desired snipping mode from the drop-down menu across the top of the display.
- Use your mouse or touchpad to click and draw around the area you want to capture (except for the “Full-screen Snip” mode, where you don’t need to select a part).
- Release the mouse button to capture the selected.
- The capture is automatically saved to > Pictures > Screenshots as .png files.
Once you have taken a screenshot, the Snipping Tool provides you with basic editing options, allowing you to annotate, highlight, or draw on the captured image.
Alternative Methods for Screenshots on Windows
While the Snipping Tool is a powerful option, the OS offers other built-in methods for taking screenshots, depending on your preferences:
-
Print Screen (PrtScn) Key: Pressing the “Print Screen” key on your keyboard captures the entire screen. To capture just the active window, use “Alt + Print Screen.” These keyboard shortcuts have been a part of the operating system since its early versions and continue to work in modern iterations.
-
Windows + Shift + S: This keyboard shortcut lets you quickly capture a specific area of the panel. The key press combination brings up the Snipping Tool, even if the application isn’t running. The snapshot is copied to the clipboard, ready for pasting into any application. This feature was introduced in Windows 10 and has proven to be quite handy for quick, selective captures.
-
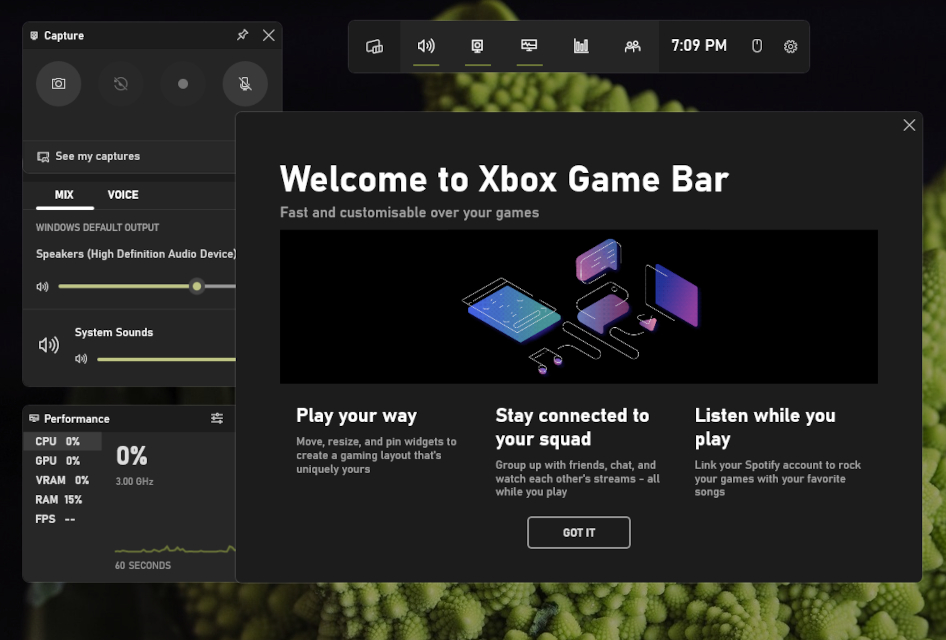
Game Bar: Windows users can utilize the Game Bar by pressing “Windows + G” to capture gameplay or any other application running in full-screen mode. This feature is primarily designed for gamers but can be used for general display capture purposes as well.
Editing and Annotating Screenshots
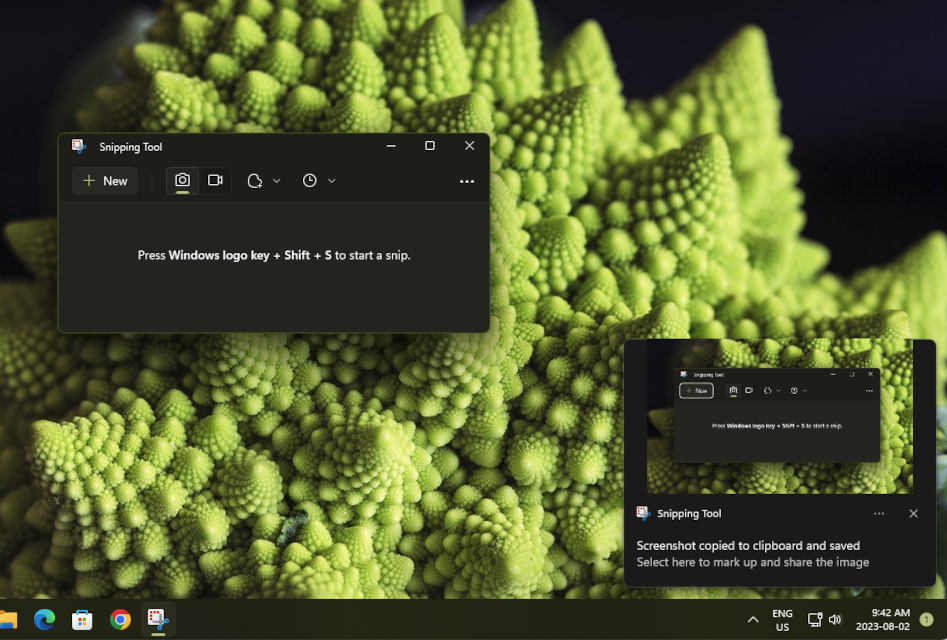 After capturing your shot, you may want to edit or annotate it before sharing. A notification will show up in your notification tray with your screenshot. Clicking on the notification will open up the new picture in the editor. Alternatively, you can click on the three dots (…) just below the close (X) button, and from the dropdown menu, select open (or press CTRL + O).
 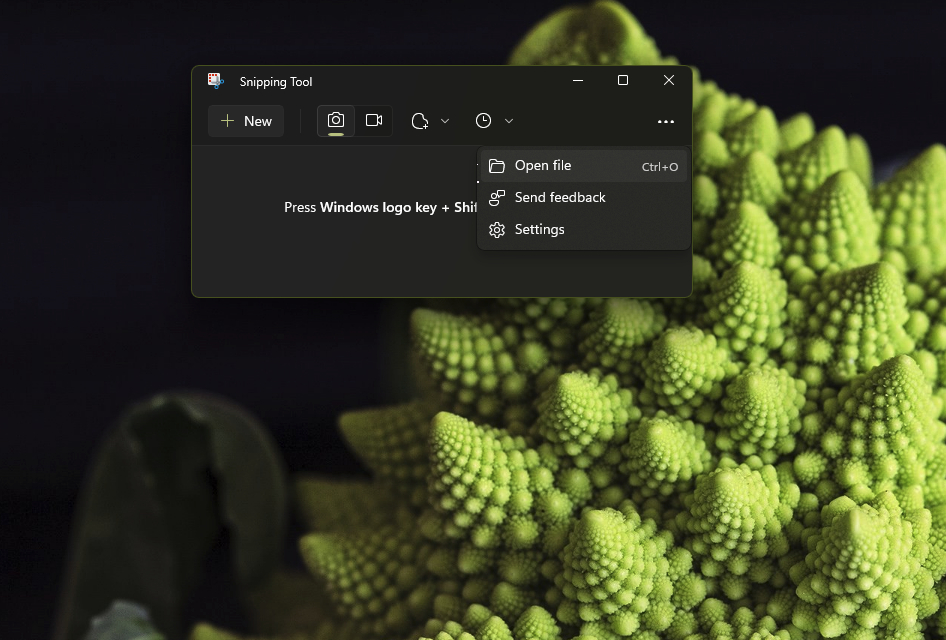 The Snipping Tool provides simple editing tools, including a pen, highlighter, and eraser, allowing you to mark up your screenshots. You can use these tools to draw attention to specific elements, add explanatory notes, or highlight important details. While the built-in editing features are suitable for simple edits, for more advanced editing options, consider using the Windows Paint application or third-party tools like Paint.NET, which offer more comprehensive editing capabilities.
Saving and Sharing Screenshots
When you are finished editing your screenshot, the Snipping Tool allows you to re-save it in various formats, such as PNG, JPEG, and GIF. Once saved, you can easily share them via email, messaging apps, social media, or cloud storage services. Sharing your snapshots can be beneficial in both personal and professional settings. Whether you need to provide visual feedback on a project or share a funny meme with friends, screenshots are an effective way to communicate.
To save:
-
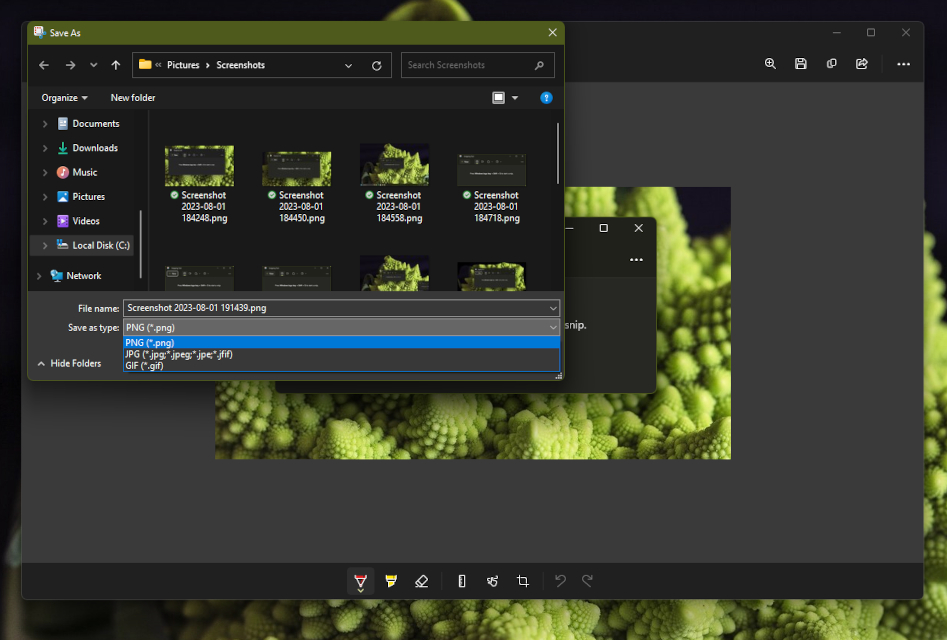
After capturing and editing, click on the “Save as” disk image (or press CTRL + S) in the Snipping Tool.
-
Choose the desired file format (PNG, JPEG, or GIF).
-
Name the file and select the location where you want to save it.
-
Click “Save” to save the image.
Troubleshooting Tips
Occasionally, you might encounter issues while taking screenshots. Here are some troubleshooting tips to overcome common problems:
-
Black Screenshots: Certain applications or games may prevent snippets due to copyright protection. Try capturing in windowed mode or using alternative methods like Windows + Shift + S.
-
Clipboard Issues: If they are not copying to the clipboard, check if any clipboard manager software is interfering. Disable or configure it to allow screenshots.
-
Missing Snipping Tool: Some Windows editions might not include the Snipping Tool. In such cases, consider upgrading to a version that offers it or use alternative methods.
Conclusion
Mastering the art of taking screenshots can significantly enhance your productivity and communication. The Snipping Tool, along with other built-in display capture methods, provides ample flexibility for capturing and sharing visual information effortlessly. Now that you’ve become proficient, you can start using these skills in your daily tasks to streamline your digital life.
Remember, a picture is worth a thousand words, and a screenshot can convey information that words alone may struggle to express. Embrace the power to improve your work efficiency, enhance communication, and create lasting memories.